Τετάρτη 24 Φεβρουαρίου 2016
Τετάρτη 17 Φεβρουαρίου 2016
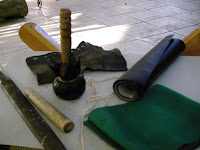
leather dabber diy
leather dabber 60mm. I found a piece of wood 6.5x5.5cm and with the rasp I tried to change its surface, from flat to curved
the pestle has a good shape also
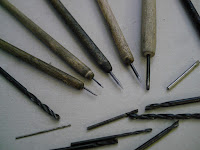
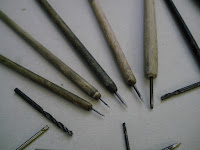
printmaking baren diy
and brass 5mm
I turned it slightly to fit well in my hand
(to turn the steel it must be longer, use the vice(clamp)
if if thick enough temper before)
I grinded to have one edge flat for one tool,
rounded and pointed for the others.
For handle you can use wood or rubber.
15-16cm long (with the handle, 5-7cm the metal)) is good enough)
Also a S shape tool is convenient because you have two tools
in one, but don't make it too long as mine (21cm)
Τετάρτη 3 Φεβρουαρίου 2016
Δευτέρα 1 Φεβρουαρίου 2016
Πέμπτη 28 Ιανουαρίου 2016
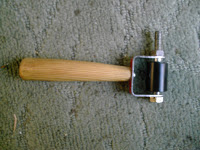
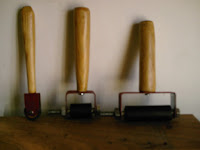
printing roller diy
For the brayer I used gasoline rubber hose (for motorcycles)
2 cm the outer diameter,1,4cm the internal, (if you can find bigger the better). Long as you want
A gas hose that I put inside the gasoline hose. 1.5cm the outer diameter, 0,8 internal.
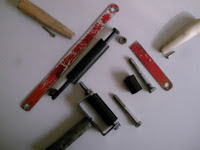
a screw and nut, a piece of metal 1.8cm width and a piece of wood for handle
For 6cm brayer you need:
1.Cut a 6cm long gasoline rubber hose and a 6cm gas hose
2.Put the gas hose into the gasoline, it must be tight.(soap helps if you have problem)
3. Take the piece of metal and a drill one edge 0.8cm.
4.Warp it in the vice,make a Π 3.5x7x3.5cm.
5.Drill the other edge using the first one as guide.Grind their edges to be round.
6.Make a small drill in the midle of the Π for the handle
7.Put a wooden handle 9.5 cm long is good ,2cm diameter
8.Put the screw 10.5x0.7 from one edge, the hose and then the nut
(i don't know how you call them, but these screws have turns only to the edge)
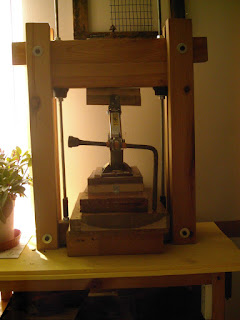
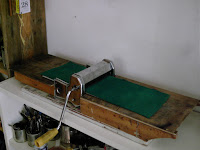
tiny etching pasta press
a tiny etching press using a pasta press
1.Secure the press with L and S (warped L) to a piece of wood
(if it is cleaner than mine better!) 50cm-65x20cm
2. screw 4 pieces of wood at the same highof the rollers -3mm for
the lids
3.screw 2 or 4 vertically
4 screw the lids 3mm and you are ready
It is really good for zinc 0.5 mm thickness
maximum width 13.5 cmm
Πέμπτη 21 Ιανουαρίου 2016
Εγγραφή σε:
Αναρτήσεις (Atom)


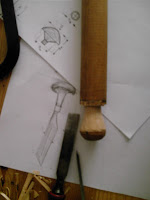


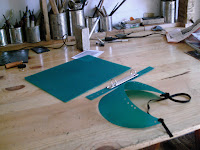
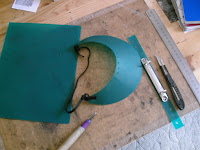
 I tried to make it like the black lid
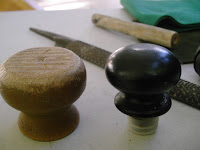
 with a wooden peg I put the handle and then I enveloped with felt and vinyl